The project properties editor gives you access at any time to the properties
of your project. It is accessible through the menu
Project->Edit Project Properties, and through the contextual menu
Edit project properties on any project item, e.g. from the Project
View or the Project Browser.
If there was an error loading the project (invalid syntax, non-existing directories, ...), a warning dialog is displayed when you select the menu. This reminds you that the project might be only partially loaded, and editing it might result in the loss of data. In such cases, it is recommended that you edit the project file manually, which you can do directly from the pop-up dialog.
Fix the project file as you would for any text file, and then reload
it manually (through the Project->Open... or
Project->Recent menus.
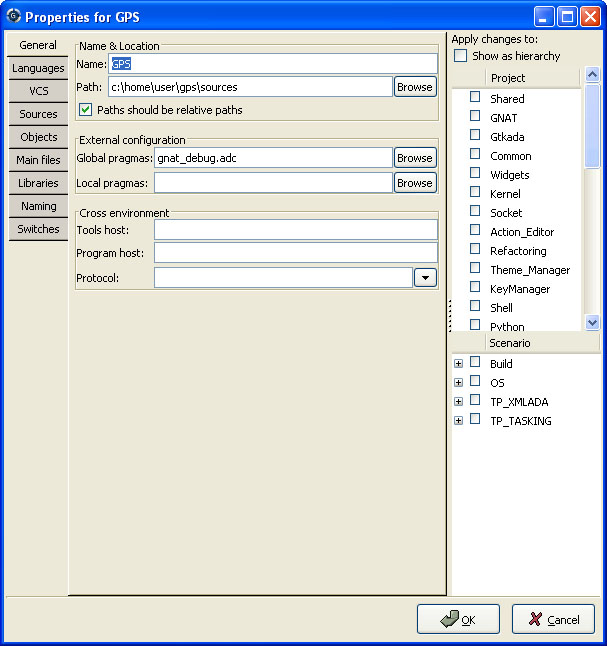
The project properties editor is divided in three parts:
General page are exactly the same, and you should therefore
read the description for these in the project wizard chapter.
See also Working in a Cross Environment for more info on the
Cross environment attributes.
Clicking on the right title bar (Project) of this selector will sort the
projects in ascending or descending order.
Clicking on the left title bar (untitled) will select or unselect all the projects.
This selector has two different possible presentations, chosen by the
toggle button on top: you can either get a sorted list of all the
projects, each one appearing only once. Or you can have the same
project hierarchy as displayed in the project view.
Clicking on the left title bar (untitled, on the left of the Scenario
label) will select or unselect all values of all variables.
To select all values of a given variable, click on the corresponding check button.